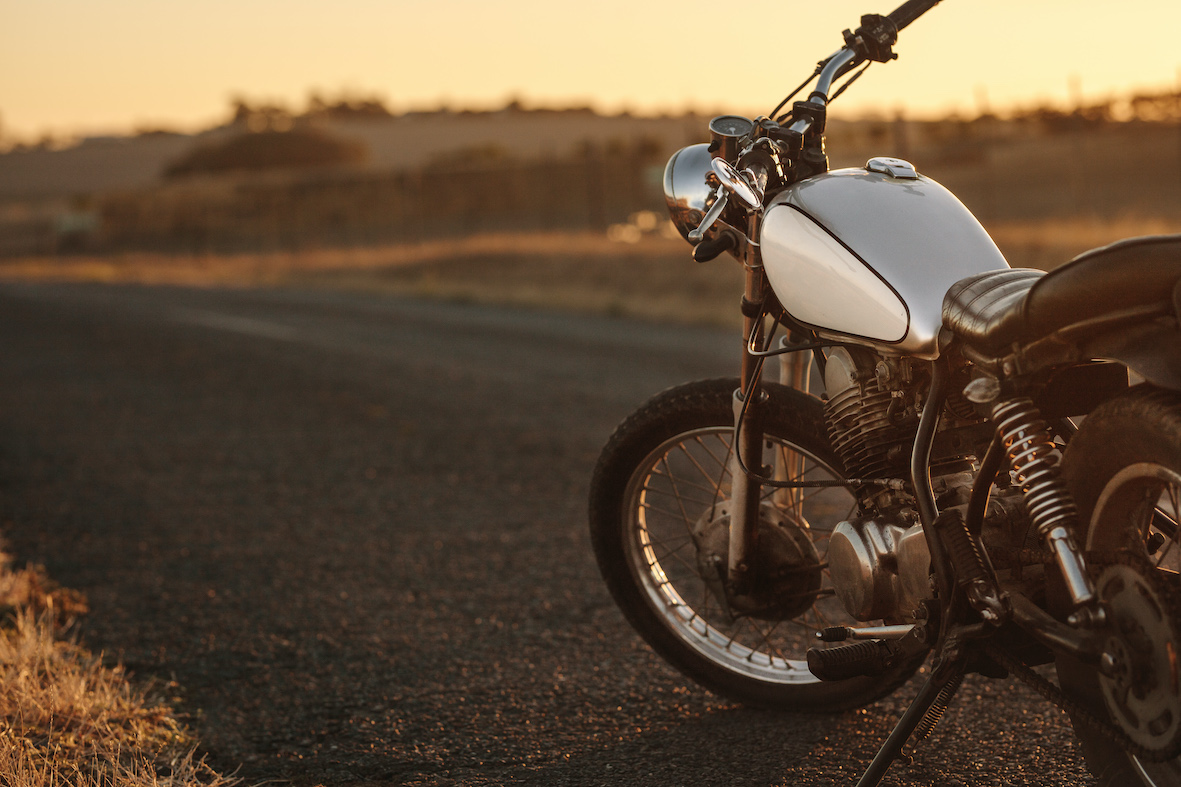
Restoring an old motorcycle can be one of the most rewarding projects you ever set for yourself. There’s something innately therapeutic about taking a 20-year-old bike and tinkering with it little by little each day until it can run as smoothly as it did in its prime once again. But where do you start and what do you need?
In this guide we run through all the tips we’ve collated from our years of motorcycle experience at Tru-Tension to give you the definitive guide on restoring an old bike.
Find the Right Project
It might be the case that you already have a bike that you want to restore, in which case you can obviously skip this point. However, if you want to restore a bike but haven’t settled on a particular model yet, then there are some things you ought to consider.
If this is your first rodeo, we highly recommend restoring a Japanese motorcycle as these tend to be much simpler in their design. Tinkering with an old European bike is something best handled by those with more experience as they are generally more expensive and require specialist parts that are harder to find.
We also recommend restoring a bike that’s still running if this is your first restoration project and are looking to ease your way into things.
Find the Service Manual
Finding a copy of the service manual for the particular model you’re planning to restore, assuming you don’t already have one, is absolutely essential. This will give you a comprehensive, step-by-step guide on your bike and how best to maintain it.
Acquire a Basic Toolbox
Before you do anything, a good idea is to take stock of everything you already have and everything you’ll need to acquire. One thing you’ll definitely want is a standard toolbox – one with wrenches, screwdrivers, an angle grinder, sockets, etc. If you already have one, check that your tools are in quality condition for the task ahead.
Equip Yourself with Fluids
After ensuring you have the right tools, you’ll want to equip yourself with basic motorcycle maintenance fluids: such as braker fluid, engine oil and bike cleaner.
Invest in a Motorcycle Lift or Stand
If your budget allows for it, you might want to invest in a good motorcycle lift or stand. This will make your restoration job a lot easier and save your back from getting strained.
Assemble/Disassemble as You Go
The last thing you want is a mess of parts on your garage floor. A favourite tip of bike restoration afficionados is investing in a cheap digital camera (or use your phone) and taking pictures every time you remove a component. That way you can keep track of everything, and the rebuilding process will become immeasurably easier. For smaller pieces, consider placing them in labelled bags or Tupperware boxes so that they don’t get lost.
Begin & End with the Tank
To avoid inflicting further damage to the vehicle as well as creating more work for yourself, you should begin your restoration project by removing the tank and end it with putting it back on. You don’t want to be in a situation where you’ve painted the tank, put it back on, and still have work to do on the motorcycle. This could result in you getting the tank dirty or damaged and undoing your own hard work!
Check the Battery
With an old motorcycle, there’s a good chance the battery is worn out. One of your first tasks should be to check the status of the battery – if the multimeter reads below 12V then it’s probably kaput.
Restart the Engine
This is one of the most important steps in the restoration process. This will involve rebuilding the carburettor, changing the air filter, checking (and if need be, rebuilding) the ignition system, ensuring that the static timing is set correctly, flushing any old engine oil, changing the oil filter, pouring fresh oil inside, and finishing with a compression test. Your manual should give you a step-by-step guide on how to do this.
Getting Rid of Rust
First thing’s first: always wear a respirator when sanding or painting. If you don’t, you run a serious risk of getting lead poisoning. While you’ve got the tank off and the carbs out, you’ll want to get the frame nice and shiny again. Sand off the rust until you get to the bare metal, and then repaint.
Replace the Chain
If the bike’s been sitting for a long time without maintenance, the likelihood is you’ll need to remove the chain and purchase a new one. While it’s certainly possible to repair an existing chain if it’s not too badly rusted, most of the time with an old bike the simplest solution is to get yourself a new one. Looking after your chain is an essential aspect of proper motorcycle maintenance.
When you get a new one, make sure you coat it in a quality chain lube to ensure its longevity. We recommend our industry-leading BananaSlip Chain Lube for the task.
See more: How Often Should You Lubricate a Motorcycle Chain?.
Be Certain What Wires You’re Cutting
It goes without saying that you’ll want to know exactly what a wire does before you cut it. We recommend labelling your wires as you go and checking where each one leads before you start cutting. If the fuses keep blowing, it probably means that two wires are crossed that shouldn’t be. If this happens, the multimeter is your best friend.
Change the Tyres
Riding on tyres more than 6 years old, even if they look in good condition, is considered very dangerous. You can check the age of your tyres by looking for the four-digit manufacturing date engraved in the side.
Motorcycle Maintenance Products & Tools with Tru-Tension
We hope you found our guide and list of tips useful for your motorcycle restoration project.
Here at Tru-Tension, our wide range of cutting-edge motorcycle products help riders and mechanics to maintain their bikes to the highest standard. From chain tensioning and chain alignment tools, to wax, lube and roller stands, we manufacture an array of high-quality maintenance solutions at affordable prices.