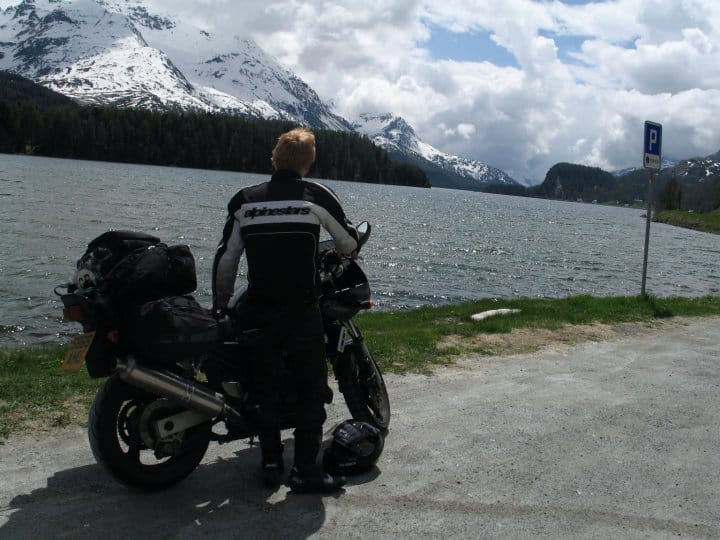
Packing for a motorcycle tour usually starts as fun and exciting, until you realise that your panniers have quickly filled up and you still haven’t packed any clothes.
These tips will help you make the most of the space on your bike.
1 – Miniaturised everything!
Baby cans of chain oil and visor cleaner are excellent to keep handy and take up hardly any of your pannier space. Make sure the chain oil IS chain oil and not traditional WD-40. (We wrote about that here).
2 – Rags!
A good old couple of rags that you won’t mind throwing away throughout the tour can be valuable for cleaning your visor on the go, mopping up excess petrol from one of those annoying pre-pay European fuel pumps or cleaning up the heavy muck off your panniers
3 – Cargo net
This is one of our favourites; a very, very handy piece of equipment that stretches surprisingly far and can carry almost anything of reasonable size. Complemented with a few bungees for extra security, we regularly take off some of our heavier gear when things get a bit too hot in slow city traffic and strap it on to the back. Others will be jealous in the seering heat!
4 – Waterproof phone cases
This one was a learning curve for us – after a very long motorway ride in the torrential rain, my “waterproof” motorcycle jacket pockets didn’t quite fulfil their promise. Luckily, putting it in the oven on a low heat saved my iPhone! Seriously!
Anyway – one of these can be extremely beneficial. You never know what the weather’s going to be like in 50 miles, and pulling off the motorway to attempt to save your electronics by putting them in a bag or a better location wastes time.
It also offers you a bit of protection if you drop your phone. I’m sure we’ve all tried to use a touch screen with your nose in effort to prevent taking a glove off and almost dropped the thing – or is that just me?
5 – Non-slip mat
You’ll be lucky to return from a week or two away on the bike without picking up a few scratches or stone chips along the way. However, it’s worth protecting your bike from the panniers, especially soft panniers like Oxford First Time’s, as they often rub the bike through corners and at high speeds.
Non-slip acts as a cheap and effective way of preventing any unnecessary damage to the rear of your bike, and helps keep things stable.
6 – Light gloves
A spare pair of lighter gloves can make a world of difference when you’re battling with the heat or riding into a local town without wishing to carry mountains of gear. It’s nice to freshen up too – we all often switch between light gloves and tougher ones where appropriate. Things inevitably get a bit sweaty!
7 – Puncture repair
Punctures on the road can be daunting, however after trying a couple of different tools and techniques, we all agree that the ‘sticky stick’ method is both the best completely ingenious for tubeless tyres.
For those unaware of this method, essentially you pull out the cause of the puncture (a nail, say) and work the hole into a nice, round and smooth circle using the hand-held drill-bit. You then thread a stick of the tyre sealant through the eye of a rather large needle, force the whole thing through the hole and pull it out slowly.
Both the large needle tool and the stick of tyre sealant come out, although as it squeezes through the hole upon return, sealant begins to fill the gap. Then you use a canister to inflate the tyre and off you go.
Best of all, a complete set up won’t cost you the earth. Sometimes the kits come in a hefty box, so it’s worth taking the parts out individually and keeping them in a material bag under the seat to save space.
8 – Quicksteel repair
In a small tube, this putty is a harmless addition to the bits and bobs under your seat and could save your bacon. It “can be used to repair broken levers, throttle housing, brake pedal, water pump neck, engine case, and radiator tank” as it’s website says.
It sets within 15 minutes, but for most motorcycle-based applications they suggest 1 hour to be safe. We wish this stuff had been around years ago.
9 – Spare Levers
This one could be a little extreme, as Quicksteel should suffice, but it’s worth looking at the way your leavers operate, where they would snap off if the bike were it to be dropped and how affordable a spare is.
After seeing a friend drop his bike on the ferry and losing a gear lever, we had to ride an extra 60 miles (with his bike in second gear) in the hope we could find a spare at a Kawasaki dealer. We got lucky, but it was enough for me to shell out £20 for a spare and keep it under the seat.
10 – Chain Monkey & adjustment tools
Chances are, your bike will do more miles within a week or two or touring than it will do for the rest of the year. So it’s good to oil your chain while its nice and hot every 200-300 miles and set the tension once things cool down.
Check your manufacturers manual for the recommended setting and use a Chain Monkey to set the tension precisely.
It’s also worth checking your manual to find our whether you should set your chain tension with the rider and the luggage on the bike or not. If so, your safest option is to sit on the bike while someone else sets the tension.
When should I change my chain and sprockets?


